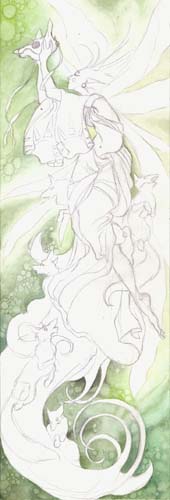
Step 4 - Developing the background
Now that there are some basic tones in the background, I take a moment to look at the irregularities and splotches that are there.
Using the smaller brushes (size 3 and 1) I purposely start to enhance those irregularities by outlining them with sap green and viridian green mixtures. These are the little "bubbles" you see in the texture. I don't leave it hard edged, but feather it in lightly to fade to the rest of the background.
Another technique I use here is to lift some of the color out from the center of those bubbles. This is done by wetting a small brush and lightly scrubbing the bristles over the painted area. Dabbing with paper towels while it's still wet will remove some of the color and leave the area slightly lighter. I use older brushes that have lost their point for this because it's not very friendly for the hairs.
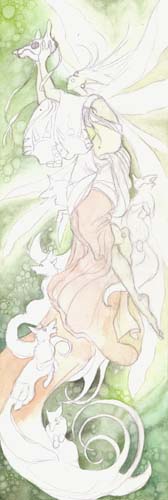
A note about this though -- different papers will respond to this to
varying success. The illustration board I use does very well for lifting,
and because I do so much lifting when I'm creating textures, it's another
bonus for me using this particular paper.
With some more light red and viridian green in the lower part, I add those faded looking streaks of darker color, again just emphasizing the irregularities that were already there.
I also put some light washes of lemon yellow and sap green over it all to brighten up the overall color.
|